Check guests in and review attendance
Confirm the correct registration and record attendance without confusing it with payment.
On this page
Before you begin
Select the session and open its guest list or attendance view.
Staff with event access; session changes require management. Company feature access and current setup requirements apply.
Step by step
- 1
Find the guest
Search the registration, private ticket or supported lookup. Check the event and session date before recording attendance.
- 2
Review admission eligibility
Read cancelled, expired, pending or confirmed status and any payment requirement. Possessing an old ticket image alone is not current admission.
- 3
Record check-in
Use the supported check-in action and verify its recorded state. Repeated scans should be reviewed as the same guest rather than a second registration.
- 4
Review attendance counts
Use Checked in and Attendance not recorded filters to reconcile the guest list after the event.
On the screen
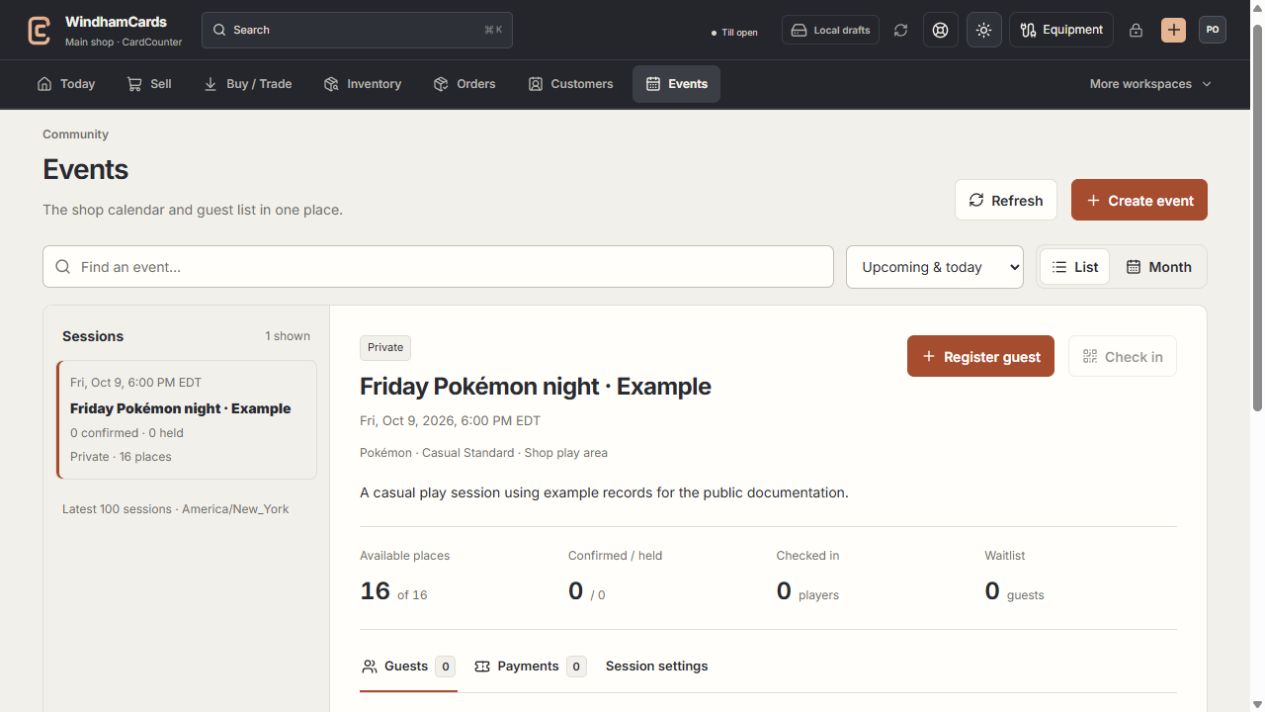
- 1Calendar or list
Find the intended session and verify the shop time zone.
- 2Session and guests
Capacity, held seats and confirmed registrations are separate.
- 3Manage sessions
Review scheduling, ticket and publication changes with management access.
Keep in mind
Check-in does not take payment, change the ticket price or link a guest to a customer wallet automatically.
A revoked ticket or cancelled session must be handled through its current state rather than an old printed pass.
If something goes wrong
A ticket is rejected
Check session identity, registration state and the recorded admission reason. Ask management to review before manually admitting through another session.