Connect your seller-funded USPS account
Prepare USPS business authorization and verify the seller’s postage payment access.
On this page
Before you begin
Open Settings → Shipping as the shop owner.
Shop owner. Company feature access and current setup requirements apply.
Step by step
- 1
Review account readiness
Read the current USPS connection and postage status. A CardCounter platform API app is separate from your seller’s business account and postage payment authority.
- 2
Prepare owner authorization
When connection controls are available, review the owner consent and begin USPS business sign-in. Use the seller account intended to pay for this shop’s labels.
- 3
Return to the same session
Complete the supported USPS return in the owner browser that started it. Follow the explicit return confirmation, then check saved status.
- 4
Wait for review and enrollment
Pending review or default API access does not mean label-payment access is approved. Complete any USPS enrollment and seller ownership review requested by the connection status.
- 5
Verify postage readiness
Only buy labels when seller payment authority, carrier approval and live platform readiness are confirmed. CardCounter never substitutes its own payment account.
On the screen
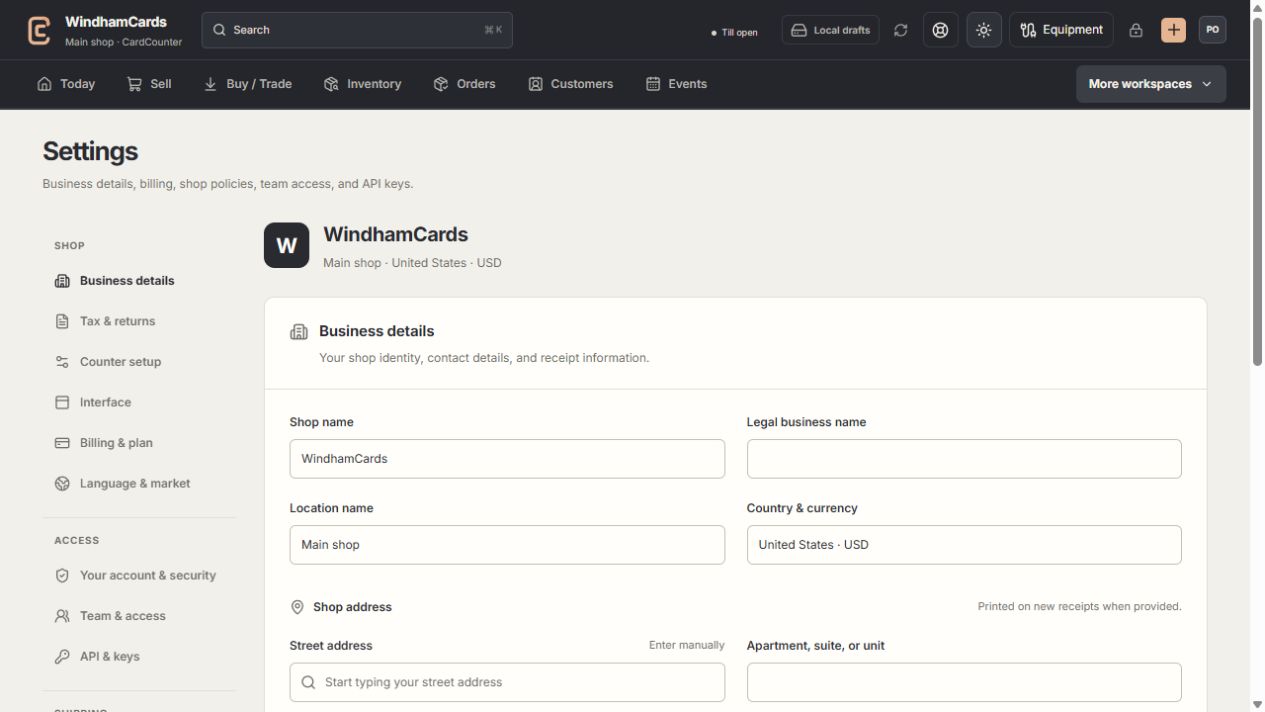
- 1Settings sections
Choose the business, policy, staff, shipping or device setting.
- 2Current values
Check the shop and location before editing a shared setting.
- 3Shop address
Complete the location address and contact fields, then save and read the result.
Keep in mind
The seller funds USPS postage. Buyer shipping fees collected at checkout are separate from the label purchase.
Production authorization or postage may still be unavailable for your workspace. Read the current status rather than repeatedly starting sign-in.
If something goes wrong
The return says expired or needs reauthorization
Check saved connection status first, then prepare a new authorization when enabled. Do not share credentials or copy tokens into chat.