Use the event check-in kiosk
Prepare a limited public check-in surface while keeping staff and customer account information private.
On this page
Before you begin
Use the event kiosk handoff tool when enabled for your shop.
Staff with event access; session changes require management. Company feature access and current setup requirements apply.
Step by step
- 1
Prepare the intended session
Select the correct event and verify its current registration and admission readiness.
- 2
Open the kiosk handoff
Use the supported public kiosk page or paired device flow. Test it in the intended guest-facing browser.
- 3
Verify its limited view
Check that the screen supports the intended ticket or registration action without exposing staff settings or unrelated customer records.
- 4
End or rotate access
Use the provided kiosk session controls when the event ends or a device changes hands. Recheck admission state for the next session.
On the screen
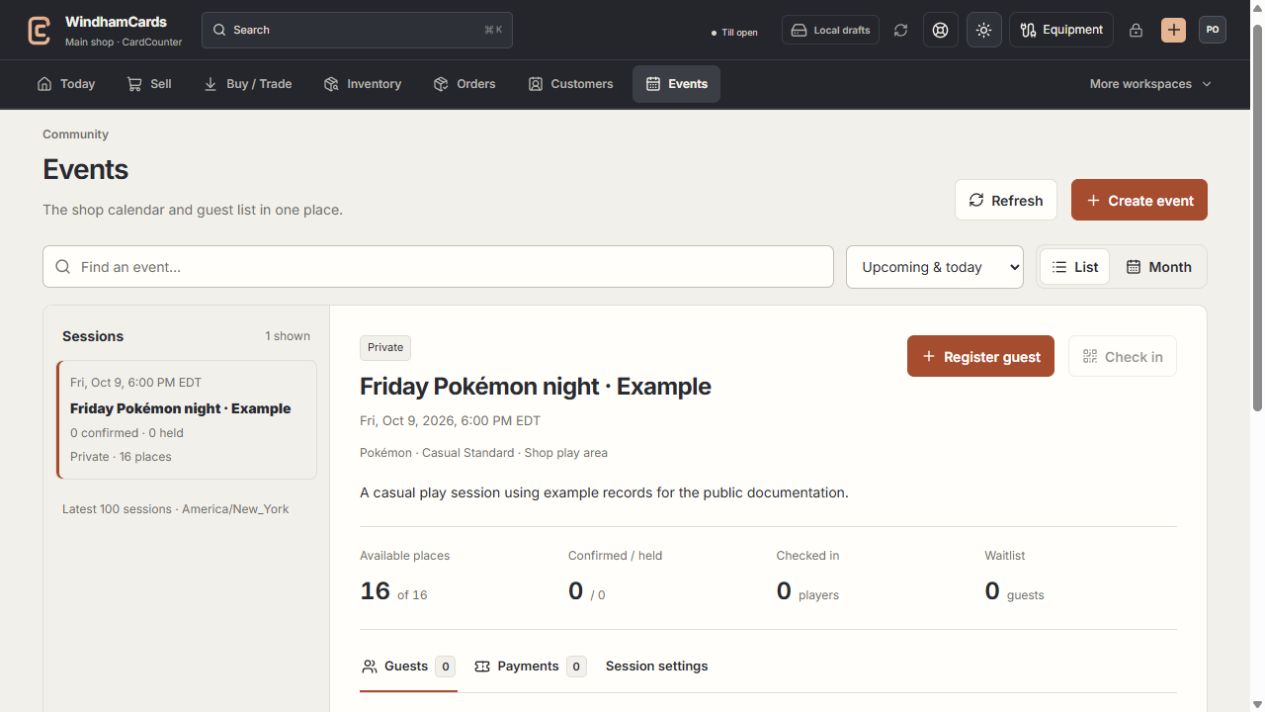
- 1Calendar or list
Find the intended session and verify the shop time zone.
- 2Session and guests
Capacity, held seats and confirmed registrations are separate.
- 3Manage sessions
Review scheduling, ticket and publication changes with management access.
Keep in mind
A kiosk is a limited guest-facing flow. Its session does not grant staff management permission.
Live admission and payment depend on the event’s current setup; a kiosk page existing does not approve them.
If something goes wrong
The kiosk cannot find a booking
Check the event, ticket state, pairing and network. Use the staff guest list for authorized review.