Save report definitions and schedules
Create supported daily snapshots, deliver them to the in-app inbox and review run history.
On this page
Before you begin
Open Reporting → Saved reports & schedules.
Owners and managers with reporting access. Company feature access and current setup requirements apply.
Step by step
- 1
Create the definition
Choose a permitted preset, title and supported recipient accounts. Review the shop time zone and intended daily time if scheduling is available.
- 2
Save or run on demand
Use Run now for the supported local date, or save an enabled daily schedule. A worker must be configured and ready for scheduled runs.
- 3
Review the inbox
Open Your inbox and inspect the saved snapshot, data-through time and full source coverage. This differs from a live date-range report.
- 4
Review history and control the schedule
Use Run history for blocked or completed results and Saved definitions to pause or resume permitted schedules.
On the screen
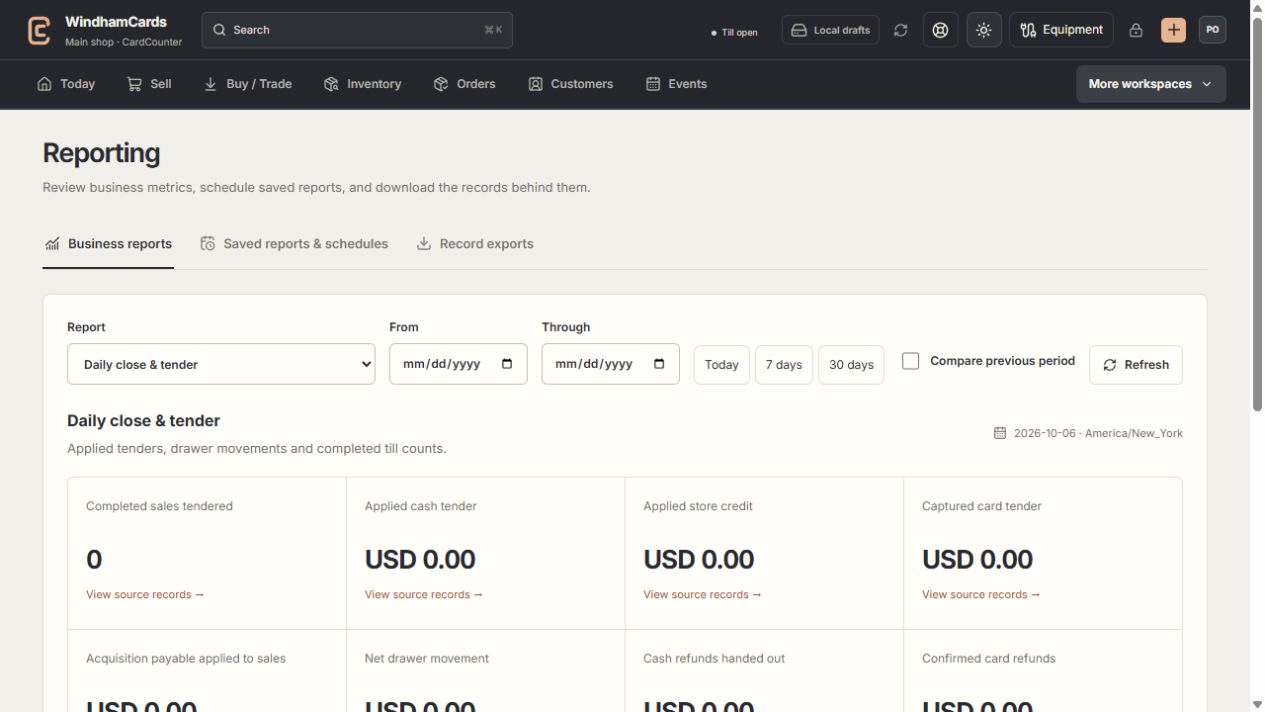
- 1Reporting tools
Live metrics, saved snapshots and record exports serve different tasks.
- 2Report and period
Choose the question, time zone and date basis you need.
- 3Coverage matters
Read source records and exclusions alongside the totals.
Keep in mind
Recipients in this tool receive supported in-app report delivery; do not assume an external email was sent.
Unavailable report presets or scheduled mutations remain blocked by current shop readiness. Saved definitions do not bypass those checks.
If something goes wrong
A scheduled report did not run
Check enabled state, local schedule time, next due time and the run’s block code. Ask support to review worker readiness if required.