Manage website images
Upload shop media, write alternative text and use assets safely in website drafts.
On this page
Before you begin
Open Website → Media.
Owners and managers with website access. Company feature access and current setup requirements apply.
Step by step
- 1
Choose an appropriate image
Use an owned or licensed JPEG, PNG or WebP file within the 3 MB website upload limit. Avoid photographs with private customer or account details.
- 2
Name and describe it
Enter a helpful image name and alternative text. Describe the information the image conveys rather than repeating its filename.
- 3
Verify the upload
Wait for the saved media result. If an upload needs confirmation, select the same file through the provided recovery flow.
- 4
Assign it to content
Use the media selection tool for the logo, hero or intended section. Check desktop and mobile crop in the draft preview.
- 5
Review before deletion
Check whether saved content references the asset and follow the supported removal checks. Publish the reviewed version after changing references.
On the screen
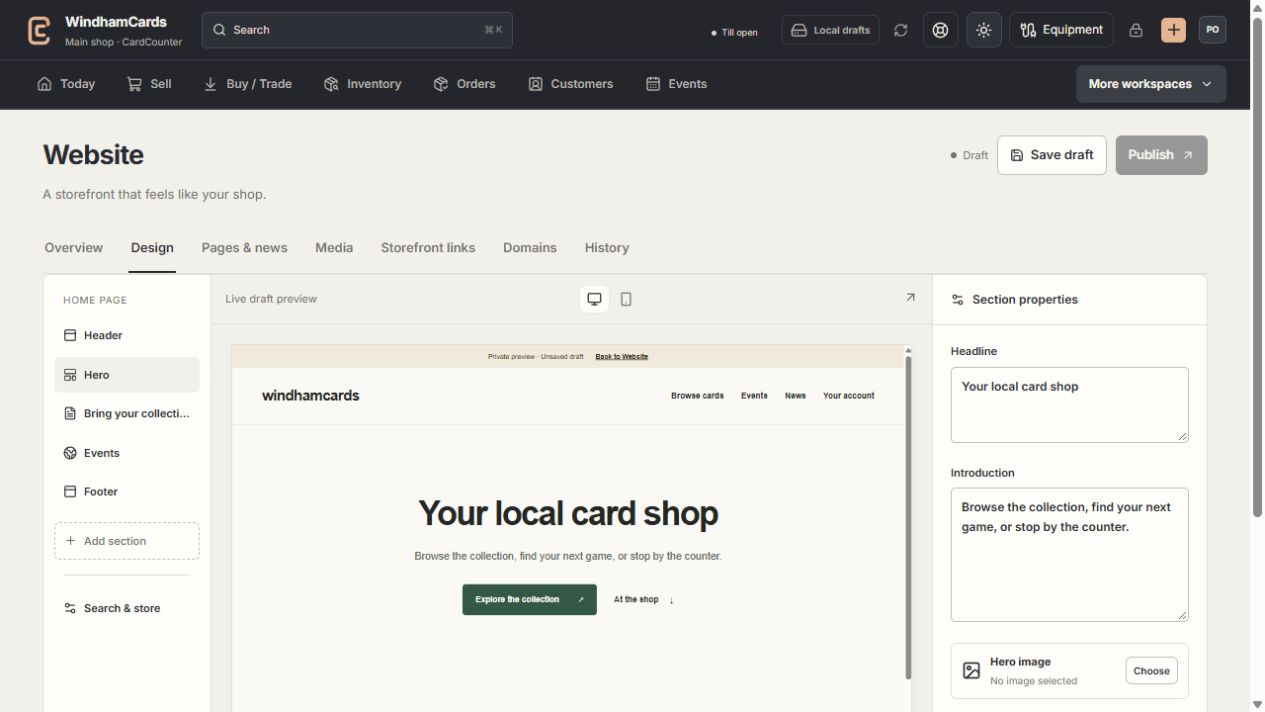
- 1Website tools
Design, pages, media, storefront links, domains and history.
- 2Section properties
Edit the selected section, then save and review the complete draft.
- 3Private preview
Check desktop and mobile before publishing the saved version.
Keep in mind
The website media limit differs from the local photo-grading limit. Check the tool you are using.
An upload result can need recovery after a connection interruption. Do not assume a new duplicate is necessary.
If something goes wrong
Upload is blocked
Check format, file size, access and the displayed error. Recover a pending upload with the same file when the screen requests it.