Find, view and print receipts
Look up completed sales and reprint their stored receipt without creating another transaction.
On this page
Before you begin
Open Receipts through More workspaces, or view the completed sale result.
Staff with counter access. Company feature access and current setup requirements apply.
Step by step
- 1
Find the recorded sale
Use the available receipt search and filters. Cashiers may see My receipts rather than all management records.
- 2
Read the sale details
Check the receipt number, date, exact items, quantities, tax and applied tender. Distinguish a completed sale from a draft or payment exception.
- 3
Print the stored receipt
Choose the receipt print action and use the browser or supported device print flow. Verify paper width, scale and printer selection.
- 4
Start a return from the original
For a return, select the original sale and eligible lines. Keep the sale history intact rather than altering the receipt.
On the screen
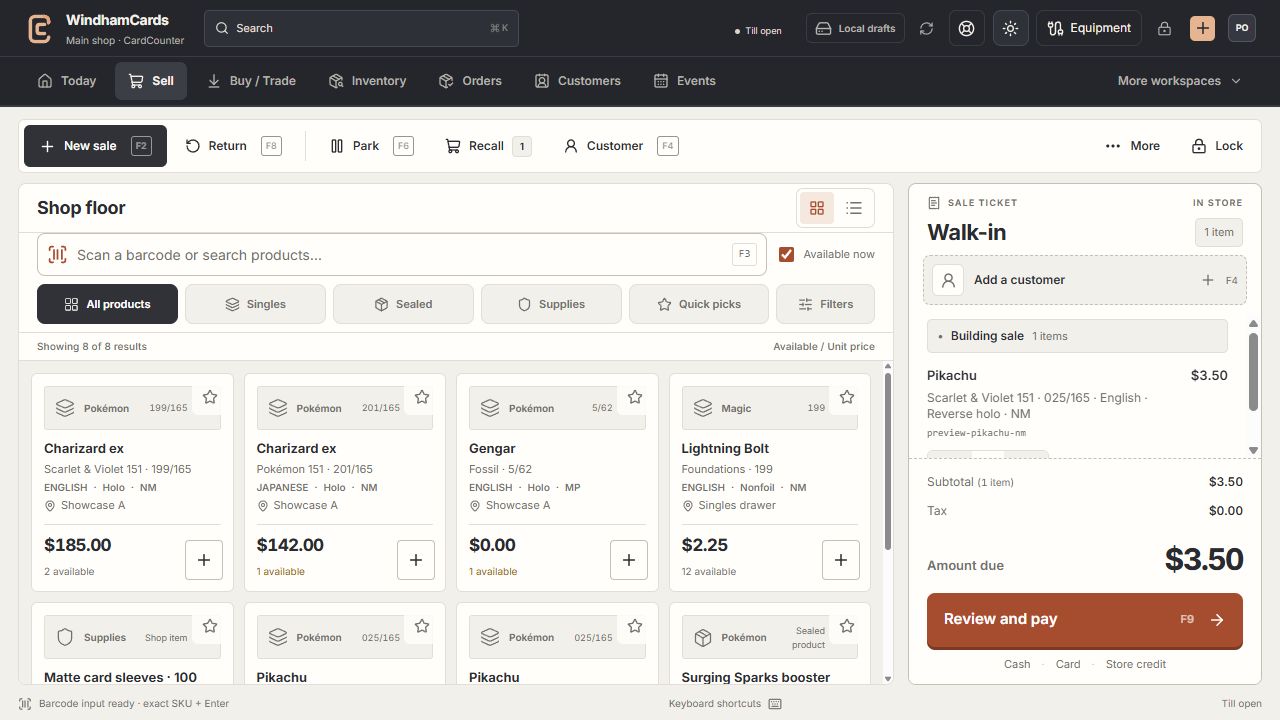
- 1Register actions
Start, park or recall a sale and open the customer panel.
- 2Exact product search
Search or scan, then confirm the printing, finish and condition.
- 3Sale ticket
Review the customer, quantities and current amount before payment.
Keep in mind
Existing receipts retain the business details and policies captured at the time of sale. Editing the shop profile affects future receipts.
Printing or reprinting does not take another payment. If printing fails, keep the sale number and retry the print action.
If something goes wrong
No receipt appears after a timeout
Refresh the existing sale and payment records before retrying checkout. Include the request or sale reference when asking support.