Choose navigation and density
Set the location’s top or side navigation and comfortable or compact workspace density.
On this page
Before you begin
Open Settings → Interface as the shop owner.
Shop owner for layout changes. Company feature access and current setup requirements apply.
Step by step
- 1
Choose the navigation
Select Top navigation for a wider workspace or Side navigation for a persistent rail. Inspect the layout preview.
- 2
Choose density
Use Comfortable or Compact according to the staff screen and task. Compact displays more items without changing product quantities.
- 3
Save the interface
Use Save interface and verify the recorded location preference. This applies to all staff at that location; phones keep their touch navigation.
- 4
Set appearance separately
Use the light/dark theme control for appearance. Use Settings → Desktop for Windows startup fullscreen rather than changing shop navigation.
On the screen
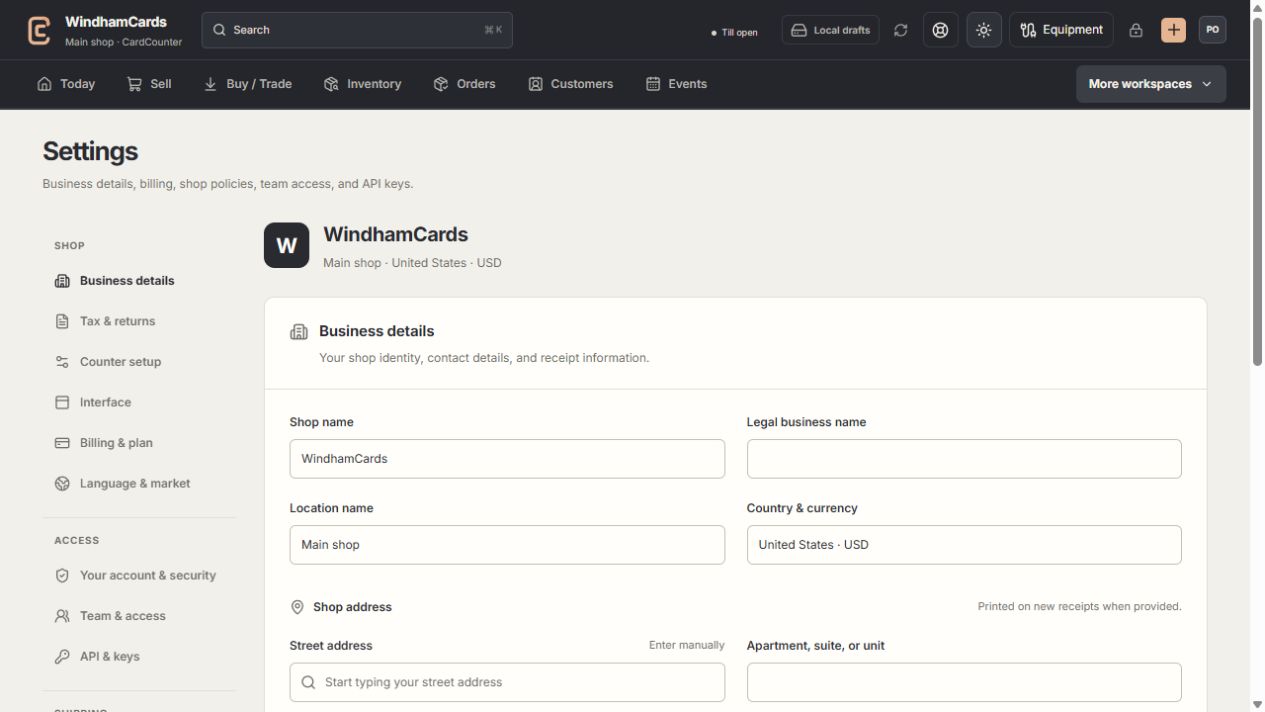
- 1Settings sections
Choose the business, policy, staff, shipping or device setting.
- 2Current values
Check the shop and location before editing a shared setting.
- 3Shop address
Complete the location address and contact fields, then save and read the result.
Keep in mind
Only the shop admin (owner) changes the shared interface layout.
The Windows fullscreen preference is saved per Windows user and computer, unlike the location-wide interface setting.
If something goes wrong
The layout keeps reverting
Check that Save interface succeeded and that another owner has not saved a newer location preference.