Ticket types, bookings and payment
Create ticket offers and distinguish confirmed guests from temporary seat holds or pending payment.
On this page
Before you begin
Select the event in Events and review its ticket and payment tabs.
Staff with event access; session changes require management. Company feature access and current setup requirements apply.
Step by step
- 1
Configure ticket types
Set the label, active state, permitted price and ticket design. New prices apply to future bookings; existing booked prices remain unchanged.
- 2
Review booking status
Registered, seat held, waitlisted, cancelled and expired are separate states. A temporary hold is not confirmed attendance.
- 3
Take a supported payment
Use the approved event payment flow where ready. Free registrations create neither a payment nor a drawer cash movement.
- 4
Verify the ticket
Check the recorded registration, payment state and private ticket or management link. Keep private tokens out of public event pages and screenshots.
- 5
Review exceptions
Use the event payment or refund review for unresolved outcomes. Merchandise checkout and ticket payments have separate records.
On the screen
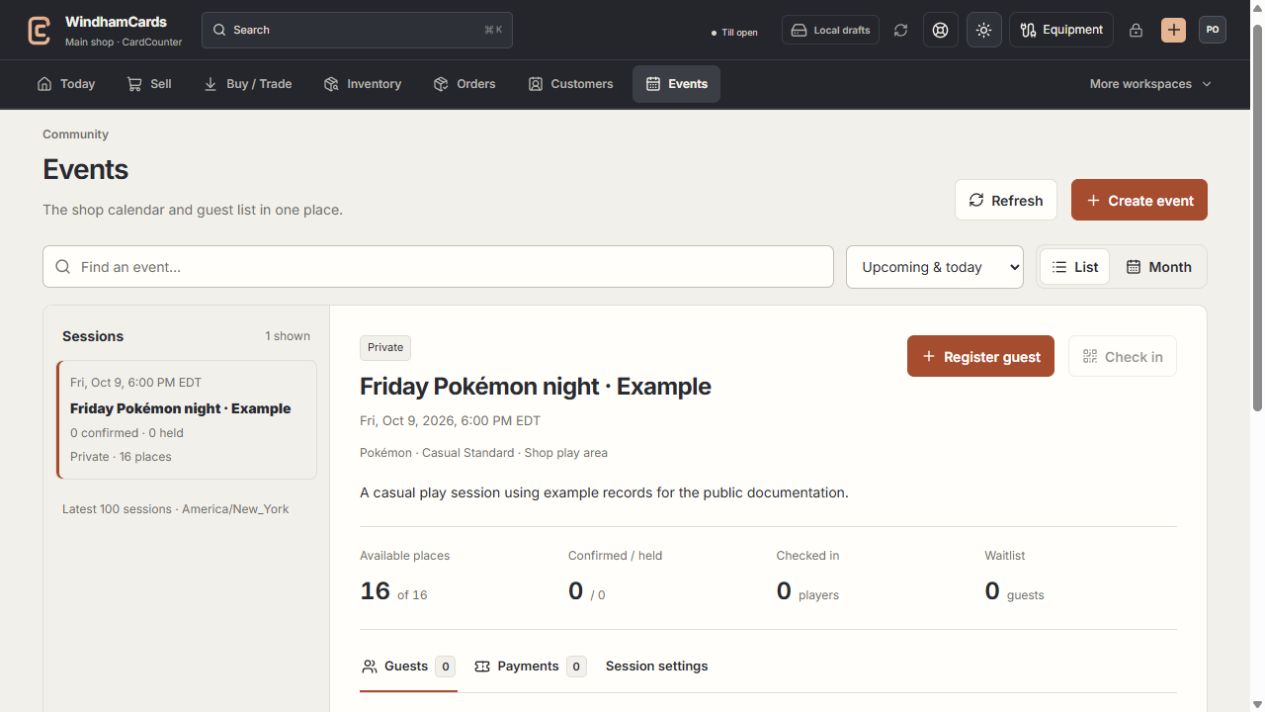
- 1Calendar or list
Find the intended session and verify the shop time zone.
- 2Session and guests
Capacity, held seats and confirmed registrations are separate.
- 3Manage sessions
Review scheduling, ticket and publication changes with management access.
Keep in mind
Event payment setup and live approval are required for paid tickets. A configured price alone does not activate a provider.
Cancellation revokes admission, while a refund returns through the original supported tender and can need additional review.
If something goes wrong
A booking is pending
Check the temporary seat hold and payment result. Resolve the existing payment through its review action before collecting again.